Your first Wagtail site
Note
This tutorial covers setting up a brand new Wagtail project. If you’d like to add Wagtail to an existing Django project instead, see Integrating Wagtail into a Django project.
Install Wagtail and its dependencies:
pip install wagtail
Start your site:
wagtail start mysite
cd mysite
Wagtail provides a
startcommand similar todjango-admin.py startproject. Runningwagtail start mysitein your project will generate a newmysitefolder with a few Wagtail-specific extras, including the required project settings, a “home” app with a blankHomePagemodel and basic templates and a sample “search” app.Install project dependencies:
pip install -r requirements.txt
This ensures that you have the relevant version of Django for the project you’ve just created.
Create the database:
python manage.py migrate
If you haven’t updated the project settings, this will be a SQLite database file in the project directory.
Create an admin user:
python manage.py createsuperuser
python manage.py runserverIf everything worked, http://127.0.0.1:8000 will show you a welcome page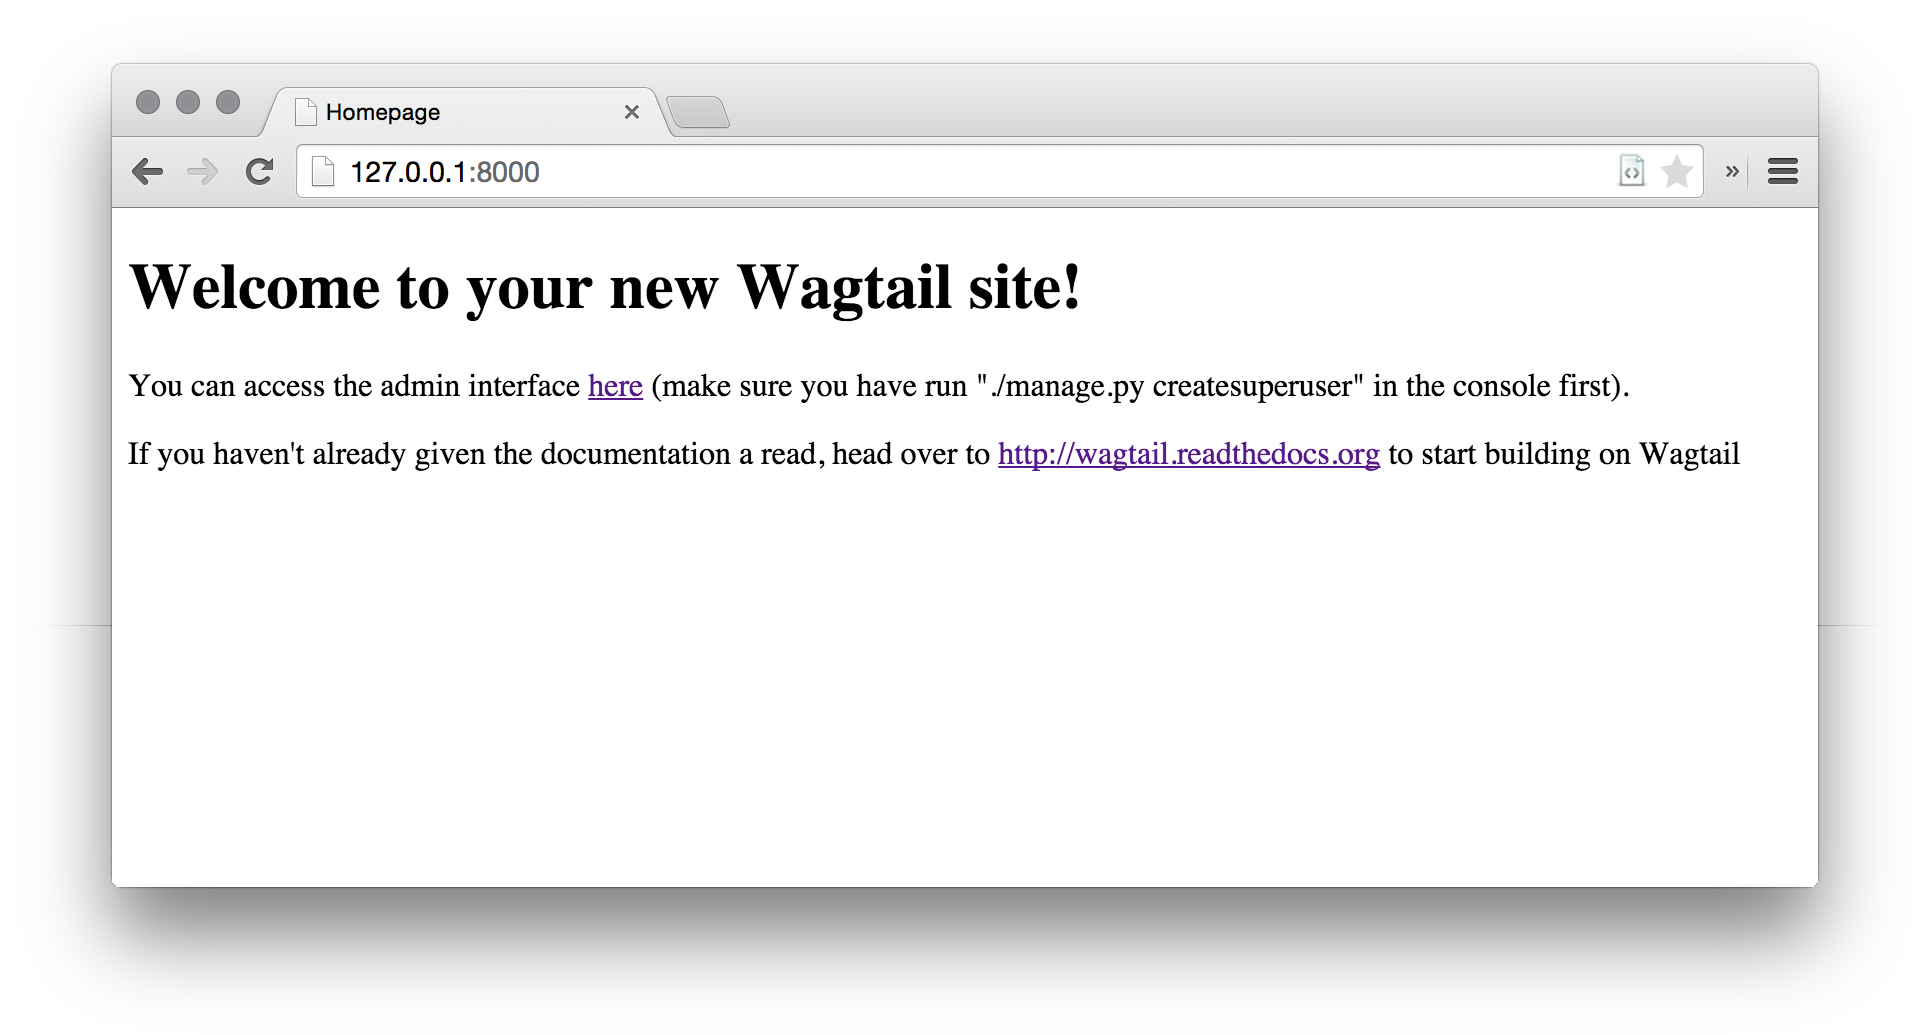
You can now access the administrative area at
/admin
Extend the HomePage model
Out of the box, the “home” app defines a blank HomePage model in models.py, along with a migration that creates a homepage and configures Wagtail to use it.
Edit home/models.py as follows, to add a body field to the model:
from __future__ import unicode_literals

from django.db import models

from wagtail.wagtailcore.models import Page
from wagtail.wagtailcore.fields import RichTextField
from wagtail.wagtailadmin.edit_handlers import FieldPanel


class HomePage(Page):
    body = RichTextField(blank=True)

    content_panels = Page.content_panels + [
        FieldPanel('body', classname="full")
    ]
body is defined as RichTextField, a special Wagtail field. You
can use any of the Django core fields. content_panels define the
capabilities and the layout of the editing interface. More on creating Page models.
Run python manage.py makemigrations, then
python manage.py migrate to update the database with your model
changes. You must run the above commands each time you make changes to
the model definition.
You can now edit the homepage within the Wagtail admin area (go to Explorer, Homepage, then Edit) to see the new body field. Enter some text into the body field, and publish the page.
The page template now needs to be updated to reflect the changes made
to the model. Wagtail uses normal Django templates to render each page
type. It automatically generates a template filename from the model name
by separating capital letters with underscores (e.g. HomePage becomes
home_page.html). Edit
home/templates/home/home_page.html to contain the following:
{% extends "base.html" %}

{% load wagtailcore_tags %}

{% block body_class %}template-homepage{% endblock %}

{% block content %}
    {{ page.body|richtext }}
{% endblock %}
Wagtail template tags
Wagtail provides a number of template tags & filters
which can be loaded by including {% load wagtailcore_tags %} at the top of
your template file.
In this tutorial, we use the richtext filter to escape and print the contents
of a RichTextField:
{% load wagtailcore_tags %}
{{ page.body|richtext }}
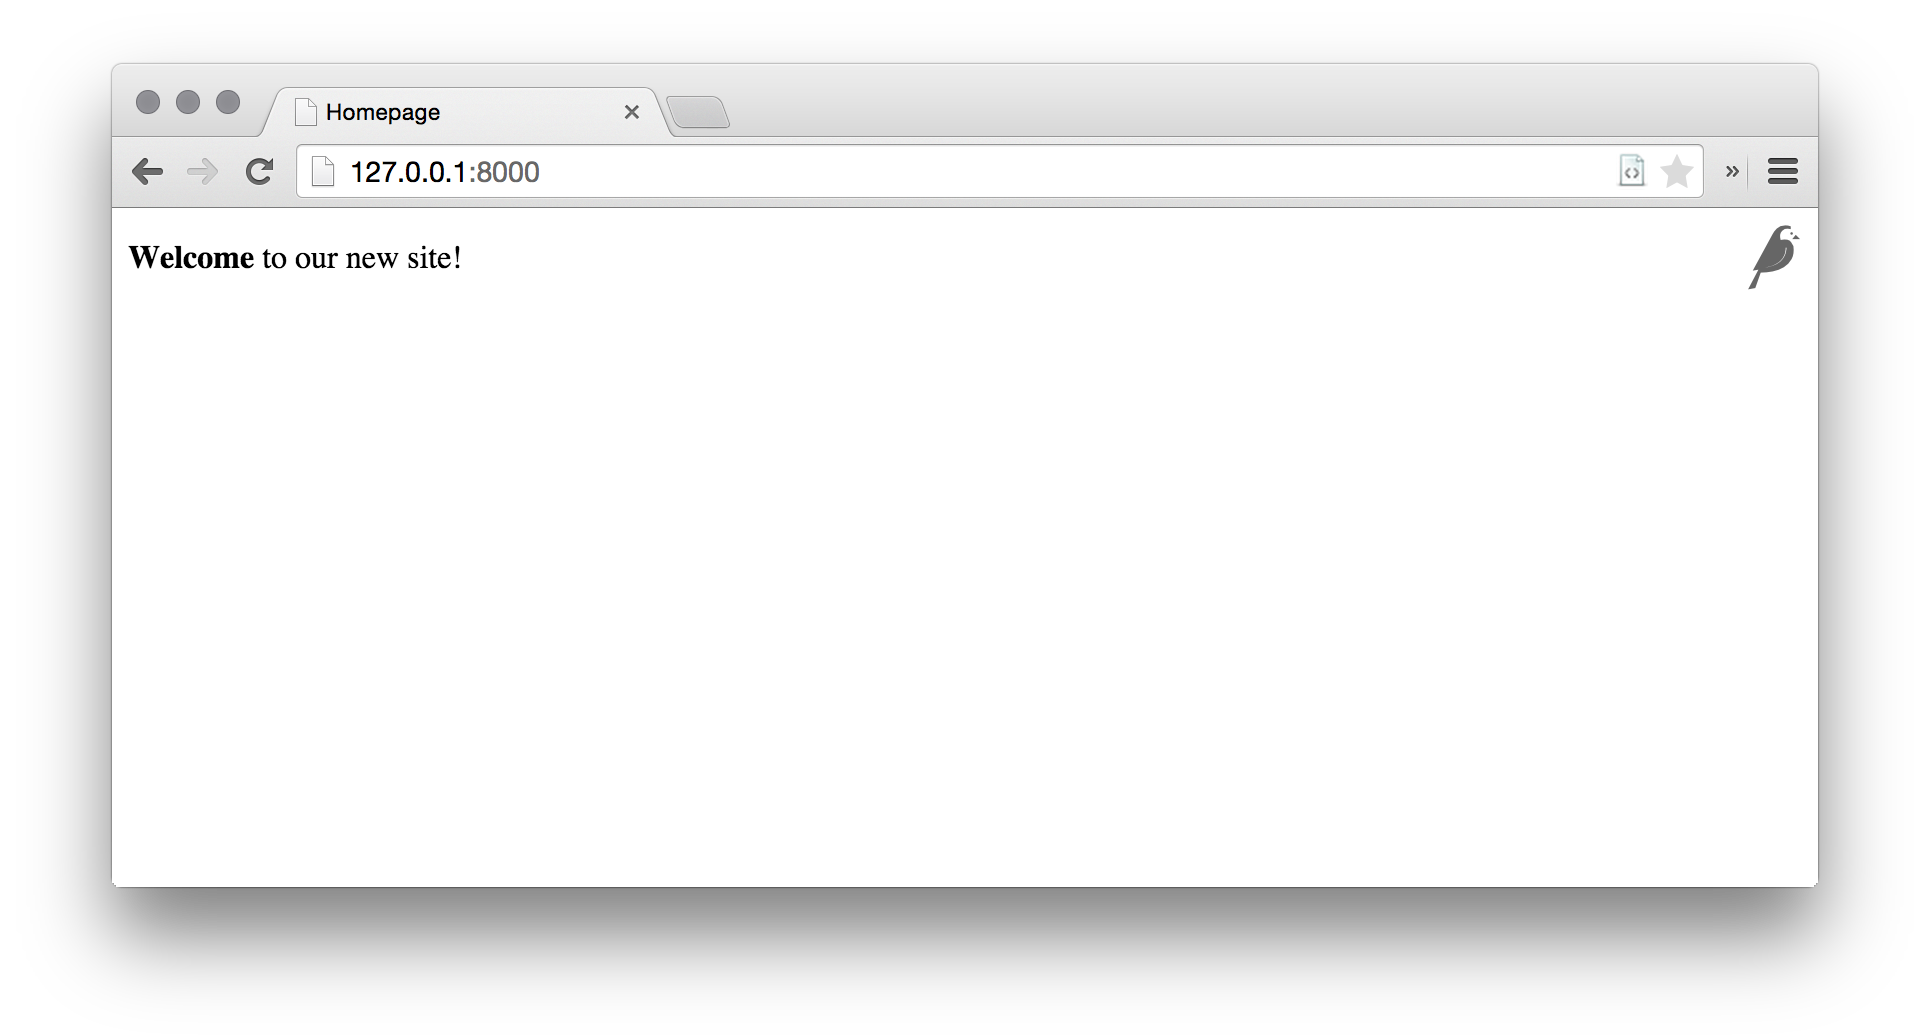
Produces:
<div class="rich-text">
    <p>
        <b>Welcome</b> to our new site!
    </p>
</div>
Note: You’ll need to include {% load wagtailcore_tags %} in each
template that uses Wagtail’s tags. Django will throw a TemplateSyntaxError
if the tags aren’t loaded.
A basic blog
We are now ready to create a blog. To do so, run
python manage.py startapp blog to create a new app in your Wagtail site.
Add the new blog app to INSTALLED_APPS in mysite/settings/base.py.
The following example defines a basic blog post model in blog/models.py:
from django.db import models

from wagtail.wagtailcore.models import Page
from wagtail.wagtailcore.fields import RichTextField
from wagtail.wagtailadmin.edit_handlers import FieldPanel
from wagtail.wagtailsearch import index


class BlogPage(Page):
    date = models.DateField("Post date")
    intro = models.CharField(max_length=250)
    body = RichTextField(blank=True)

    search_fields = Page.search_fields + [
        index.SearchField('intro'),
        index.SearchField('body'),
    ]

    content_panels = Page.content_panels + [
        FieldPanel('date'),
        FieldPanel('intro'),
        FieldPanel('body', classname="full")
    ]
Note
On Wagtail versions before 1.5, search_fields needs to be defined as a tuple:
search_fields = Page.search_fields + (
    index.SearchField('intro'),
    index.SearchField('body'),
)
Create a template at blog/templates/blog/blog_page.html:
{% extends "base.html" %}

{% load wagtailcore_tags %}

{% block body_class %}template-blogpage{% endblock %}

{% block content %}
    <h1>{{ page.title }}</h1>
    <p class="meta">{{ page.date }}</p>

    <div class="intro">{{ page.intro }}</div>

    {{ page.body|richtext }}
{% endblock %}
Run python manage.py makemigrations and python manage.py migrate.
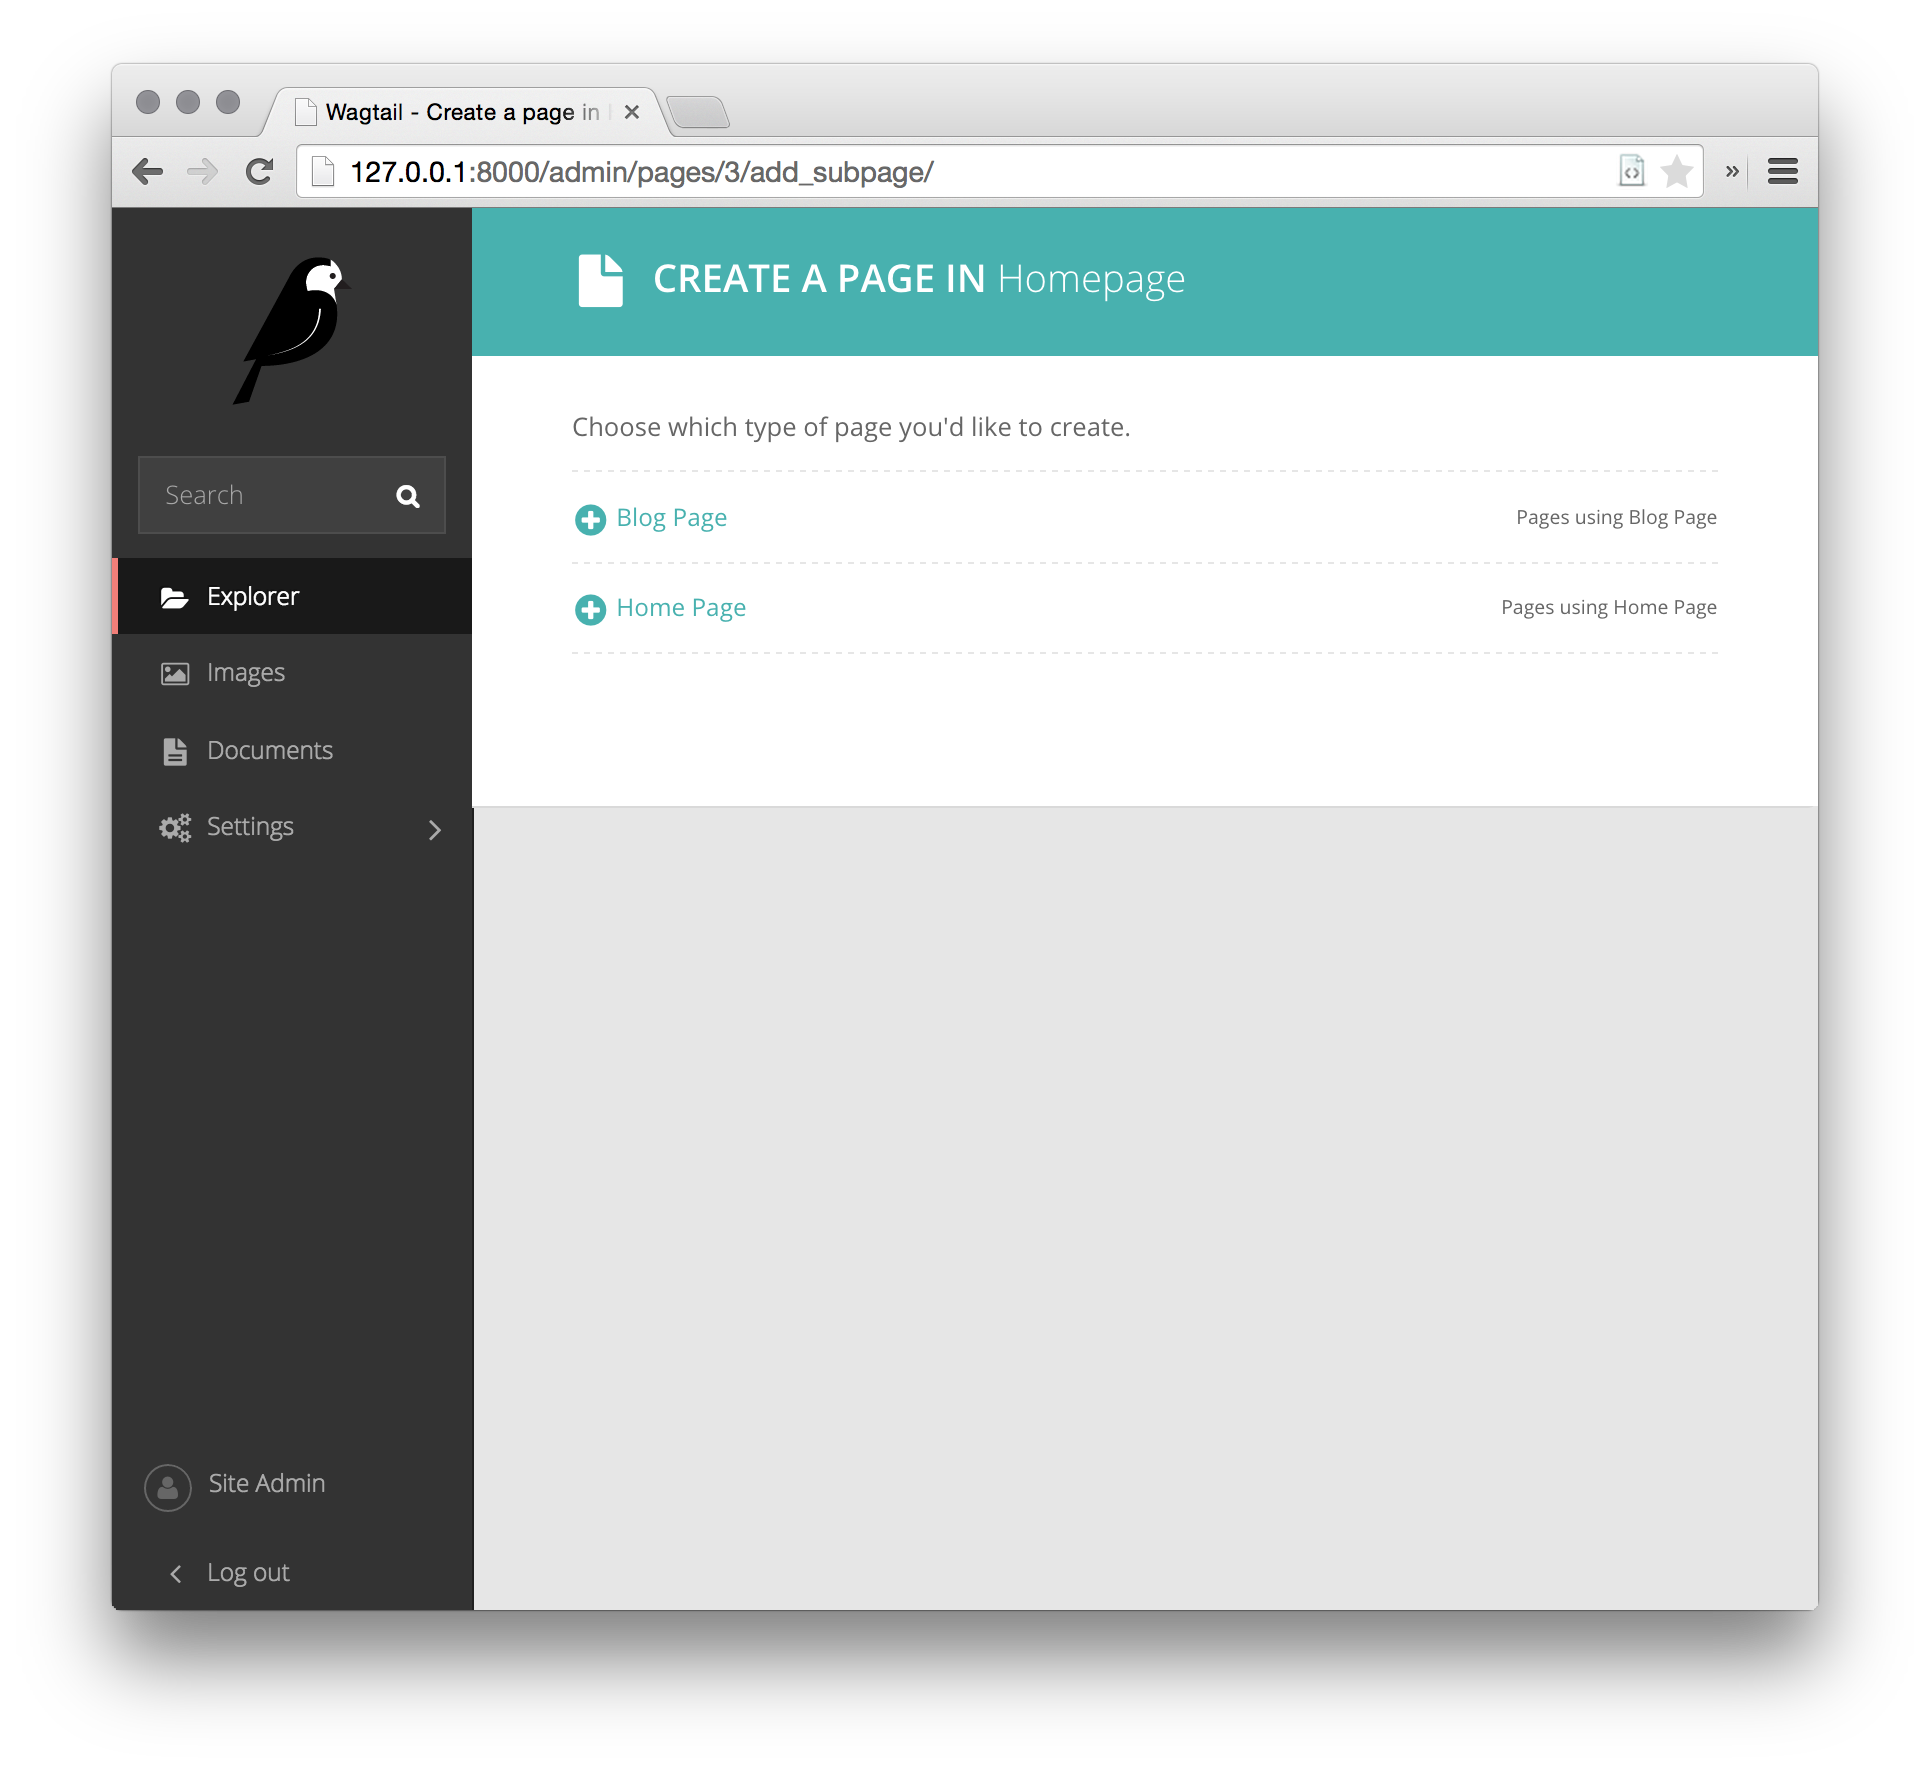
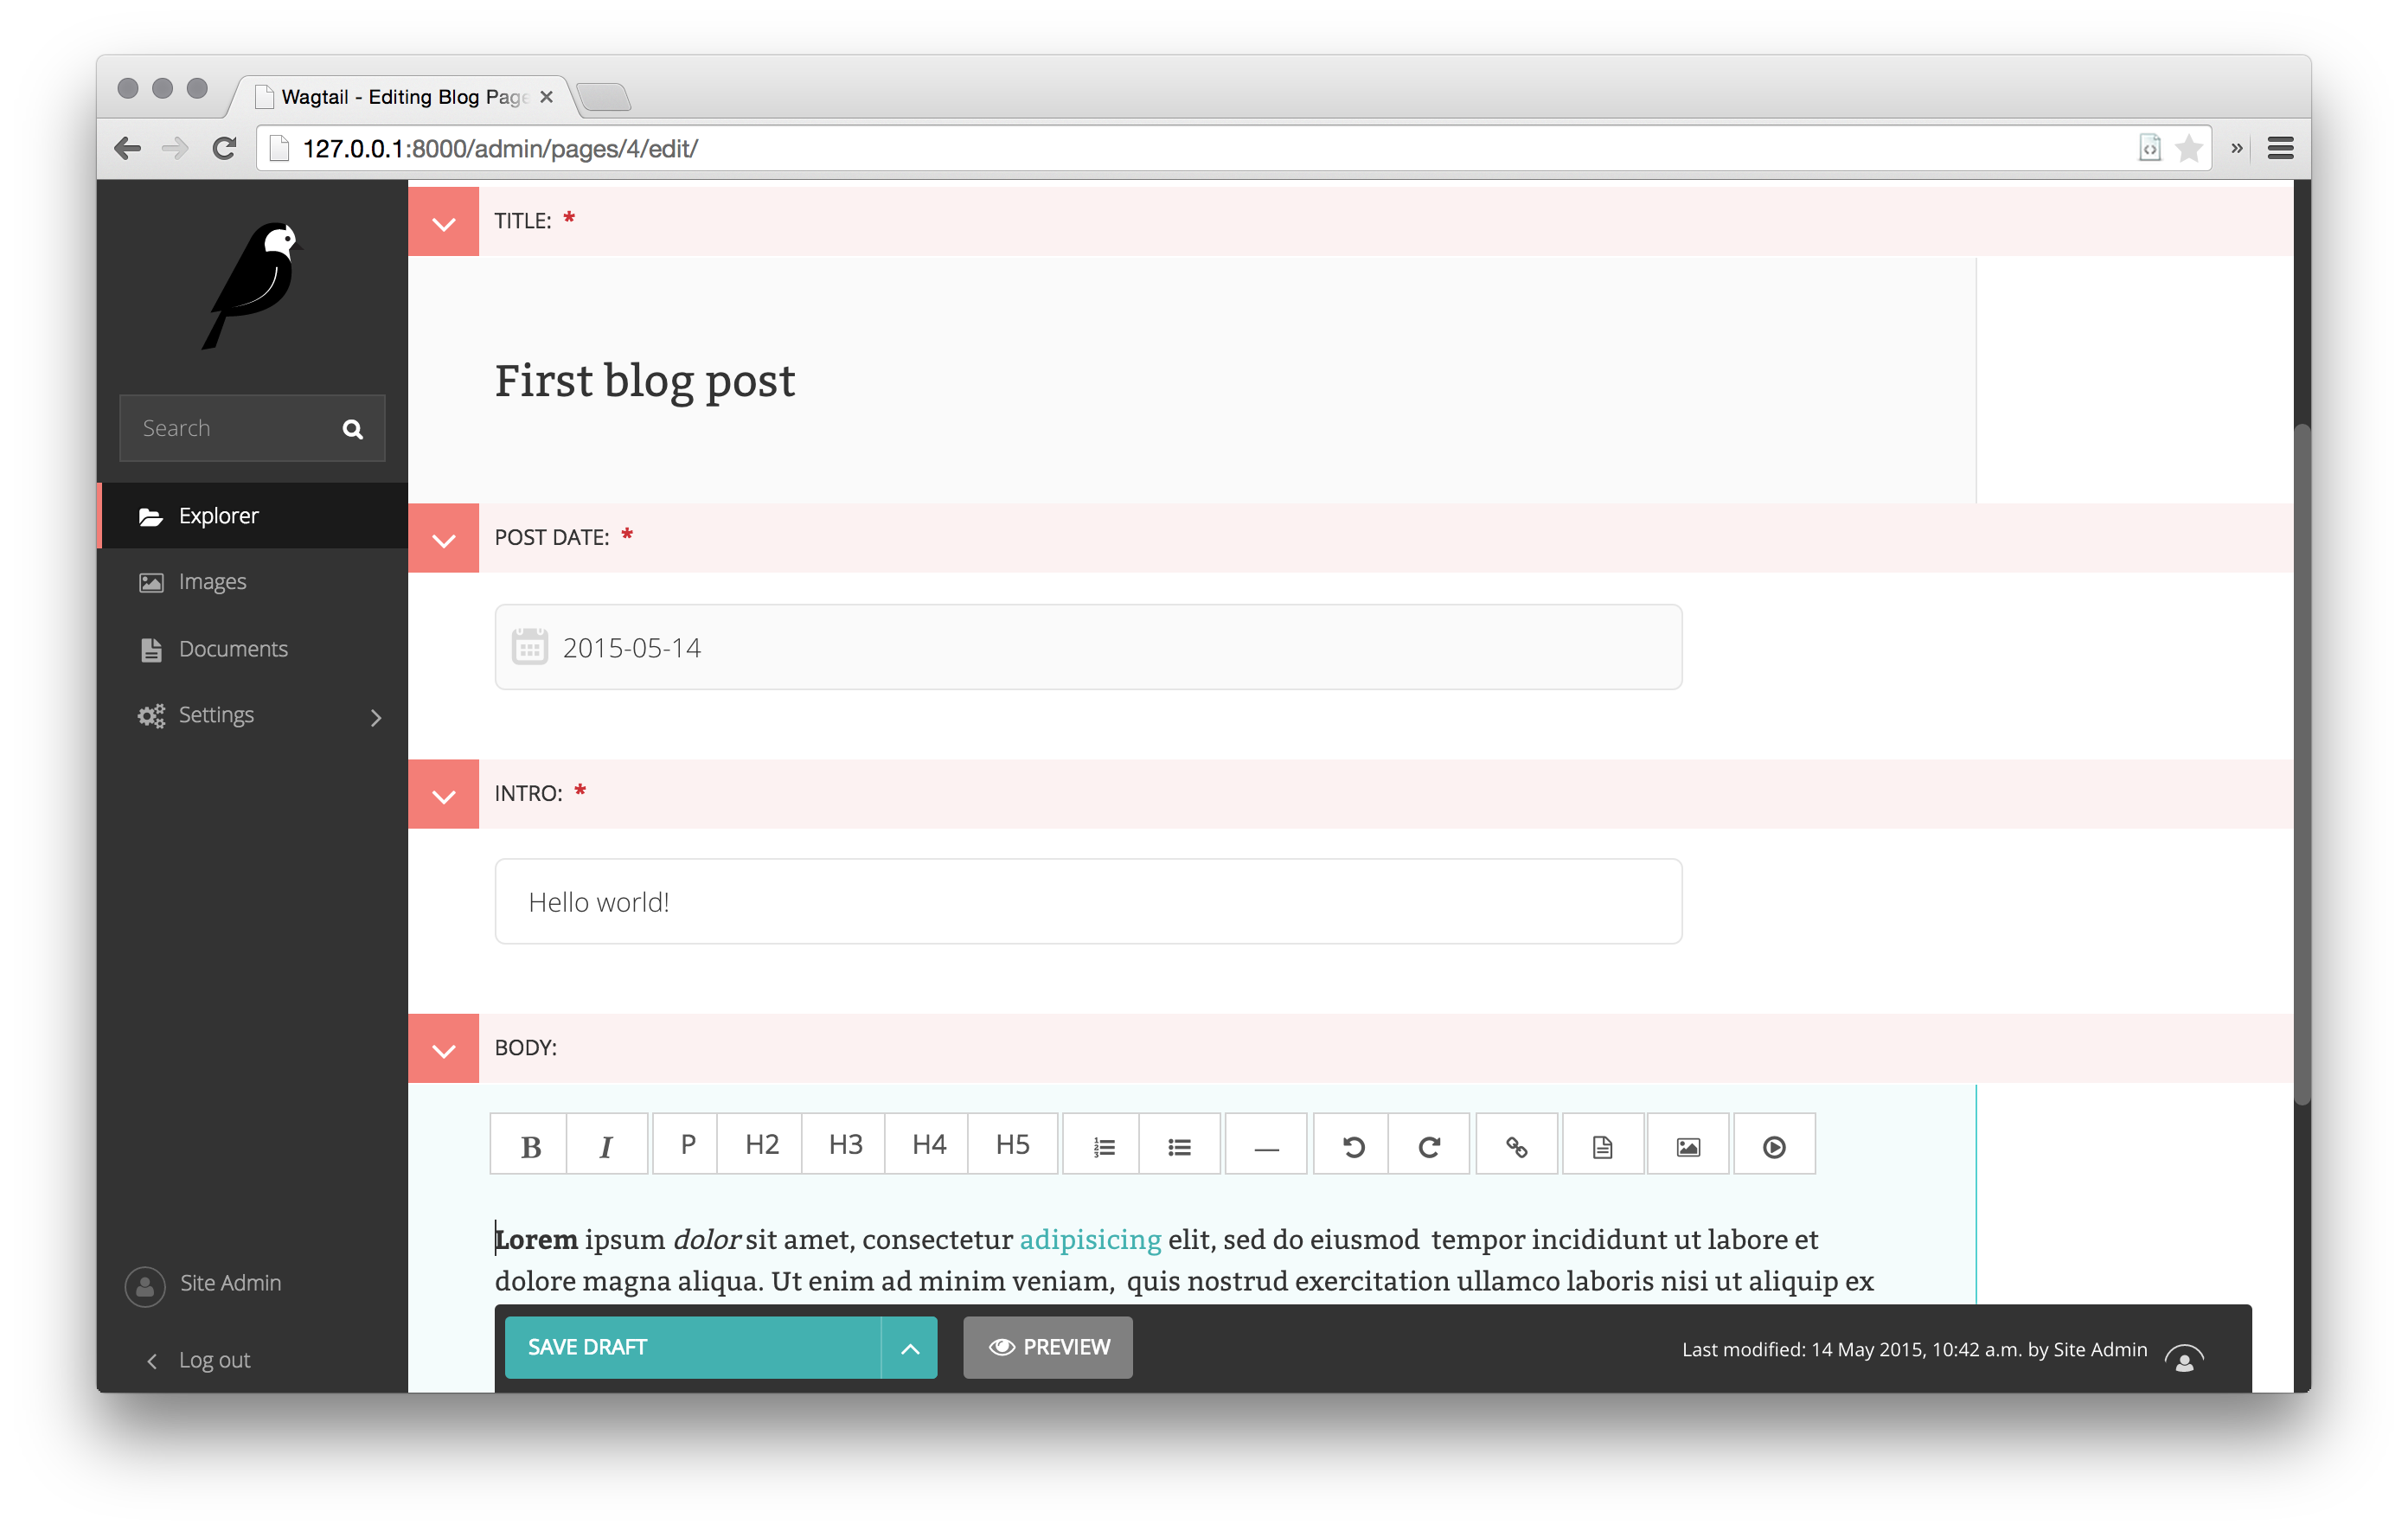
Image support
Wagtail provides support for images out of the box. To add them to your model:
from django.db import models

from wagtail.wagtailcore.models import Page
from wagtail.wagtailcore.fields import RichTextField
from wagtail.wagtailadmin.edit_handlers import FieldPanel
from wagtail.wagtailimages.edit_handlers import ImageChooserPanel
from wagtail.wagtailsearch import index


class BlogPage(Page):
    main_image = models.ForeignKey(
        'wagtailimages.Image',
        null=True,
        blank=True,
        on_delete=models.SET_NULL,
        related_name='+'
    )
    date = models.DateField("Post date")
    intro = models.CharField(max_length=250)
    body = RichTextField(blank=True)

    search_fields = Page.search_fields + [
        index.SearchField('intro'),
        index.SearchField('body'),
    ]

    content_panels = Page.content_panels + [
        FieldPanel('date'),
        ImageChooserPanel('main_image'),
        FieldPanel('intro'),
        FieldPanel('body'),
    ]
Run python manage.py makemigrations and python manage.py migrate.
Adjust your blog page template to include the image:
{% extends "base.html" %}

{% load wagtailcore_tags wagtailimages_tags %}

{% block body_class %}template-blogpage{% endblock %}

{% block content %}
    <h1>{{ page.title }}</h1>
    <p class="meta">{{ page.date }}</p>

    {% if page.main_image %}
        {% image page.main_image width-400 %}
    {% endif %}

    <div class="intro">{{ page.intro }}</div>

    {{ page.body|richtext }}
{% endblock %}
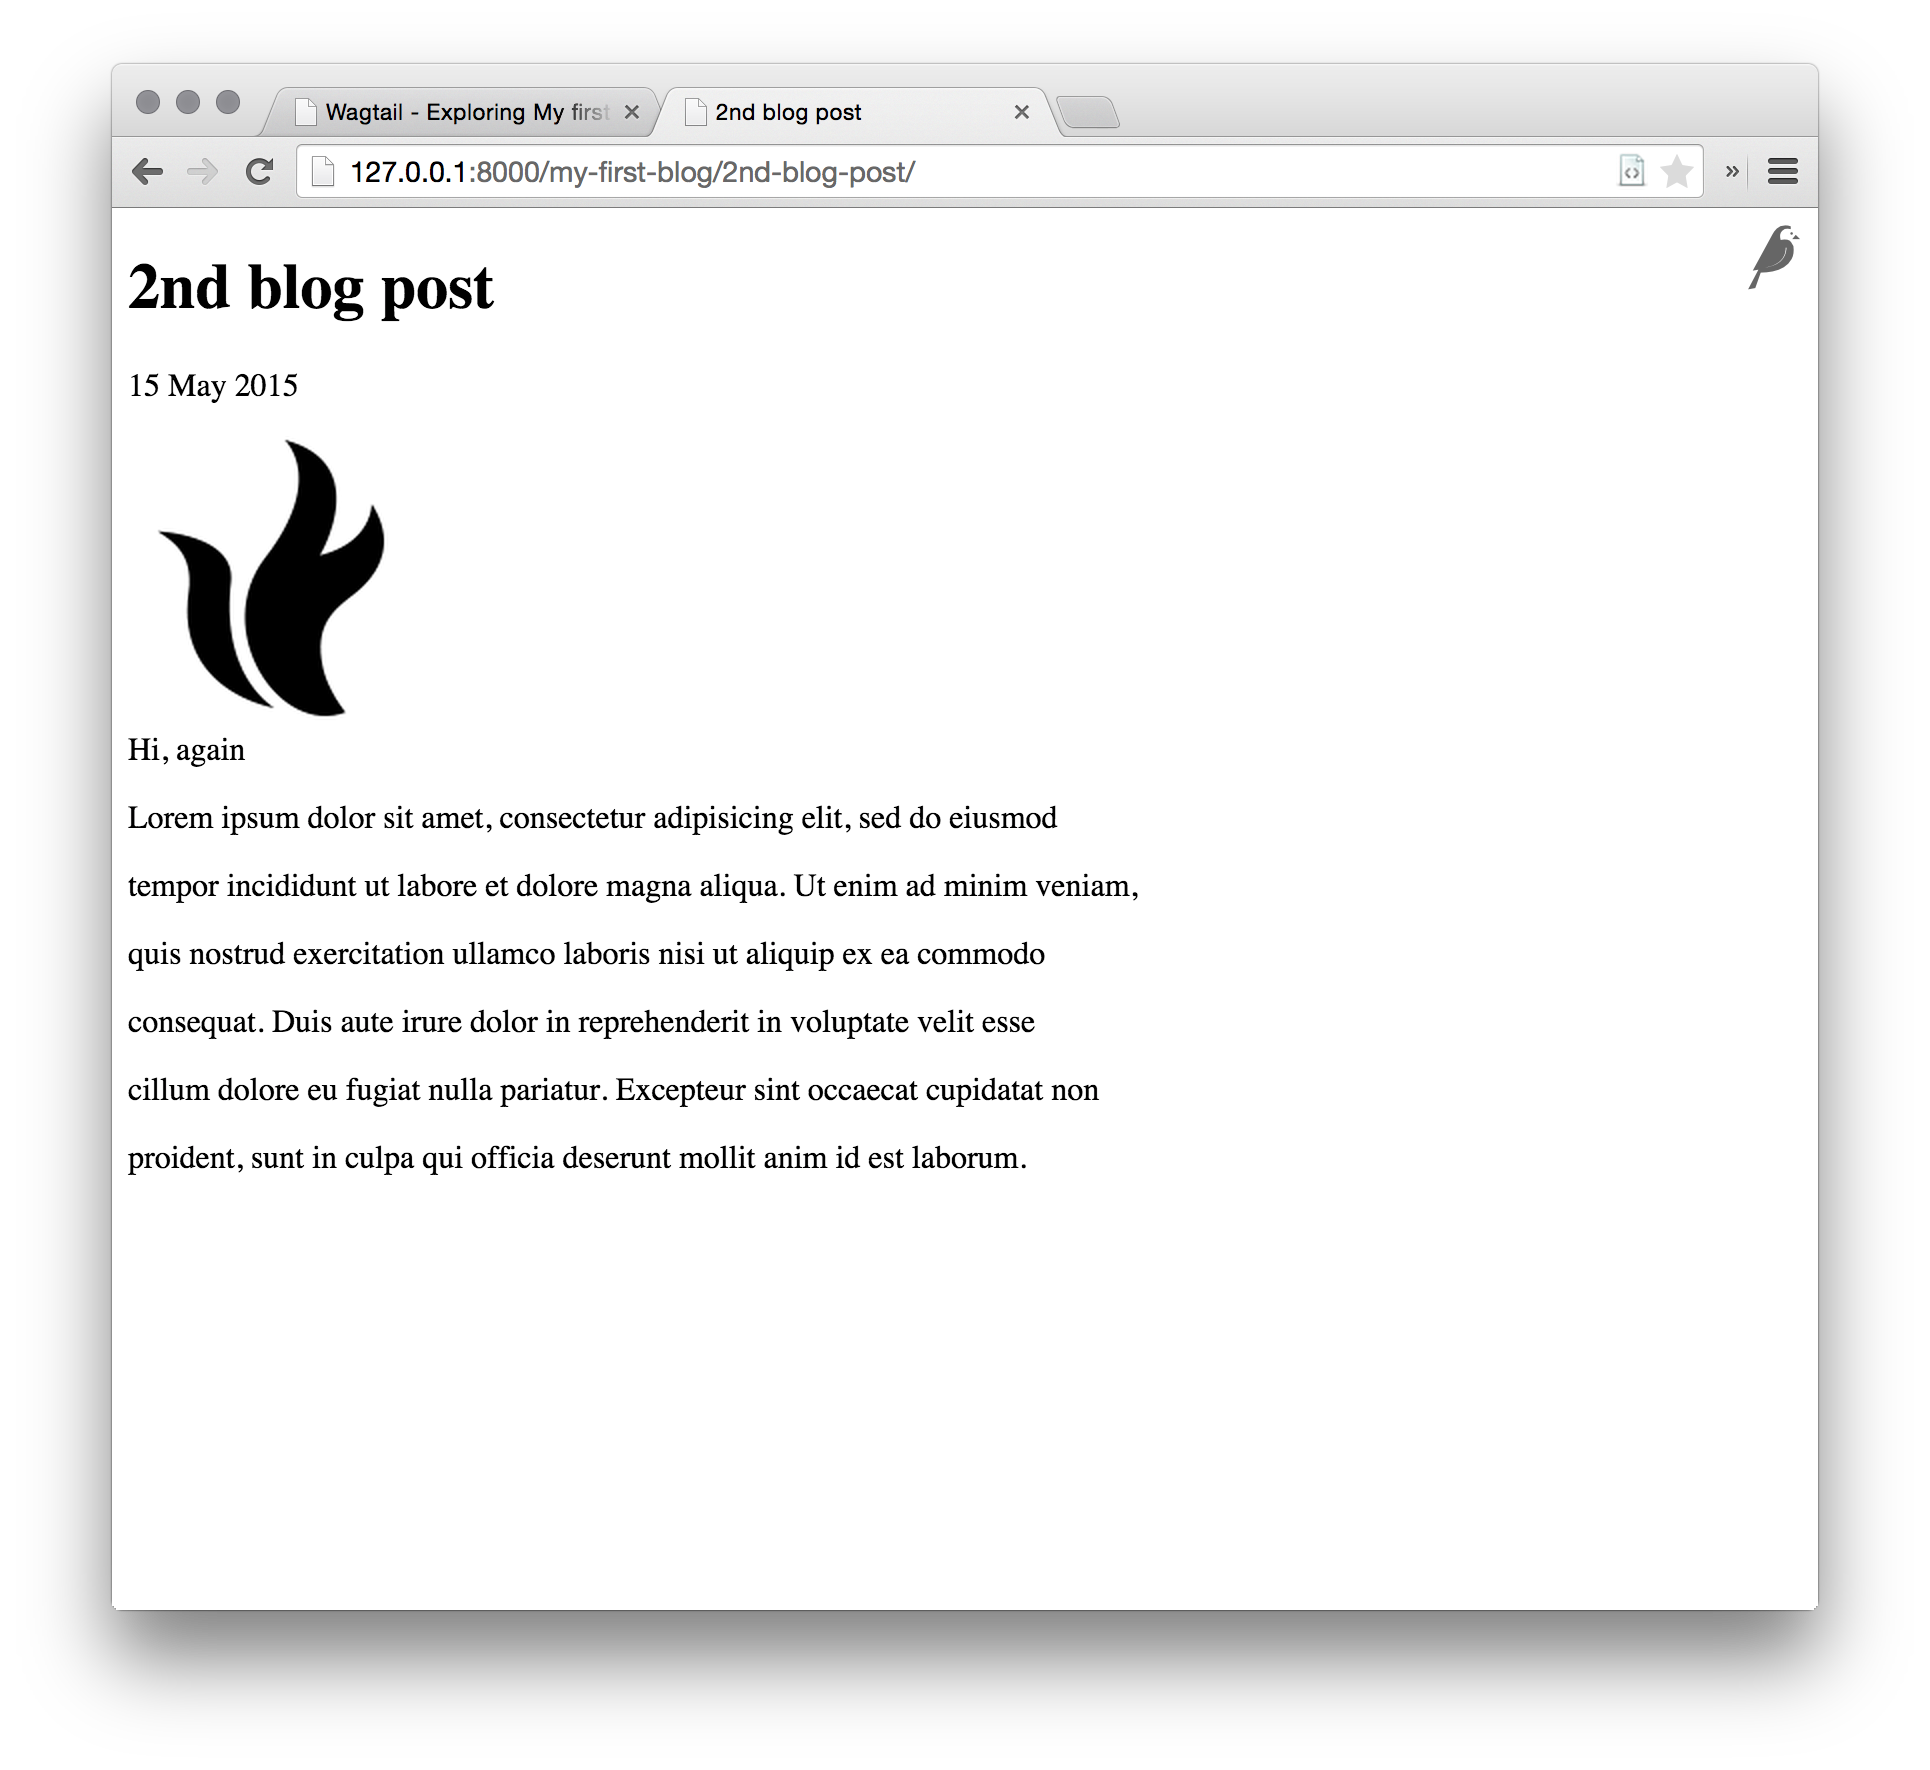
You can read more about using images in templates in the docs.
Blog Index
Let us extend the Blog app to provide an index.
class BlogIndexPage(Page):
    intro = RichTextField(blank=True)

    content_panels = Page.content_panels + [
        FieldPanel('intro', classname="full")
    ]
The above creates an index type to collect all our blog posts.
blog/templates/blog/blog_index_page.html
{% extends "base.html" %}

{% load wagtailcore_tags %}

{% block body_class %}template-blogindexpage{% endblock %}

{% block content %}
    <h1>{{ page.title }}</h1>

    <div class="intro">{{ page.intro|richtext }}</div>
{% endblock %}
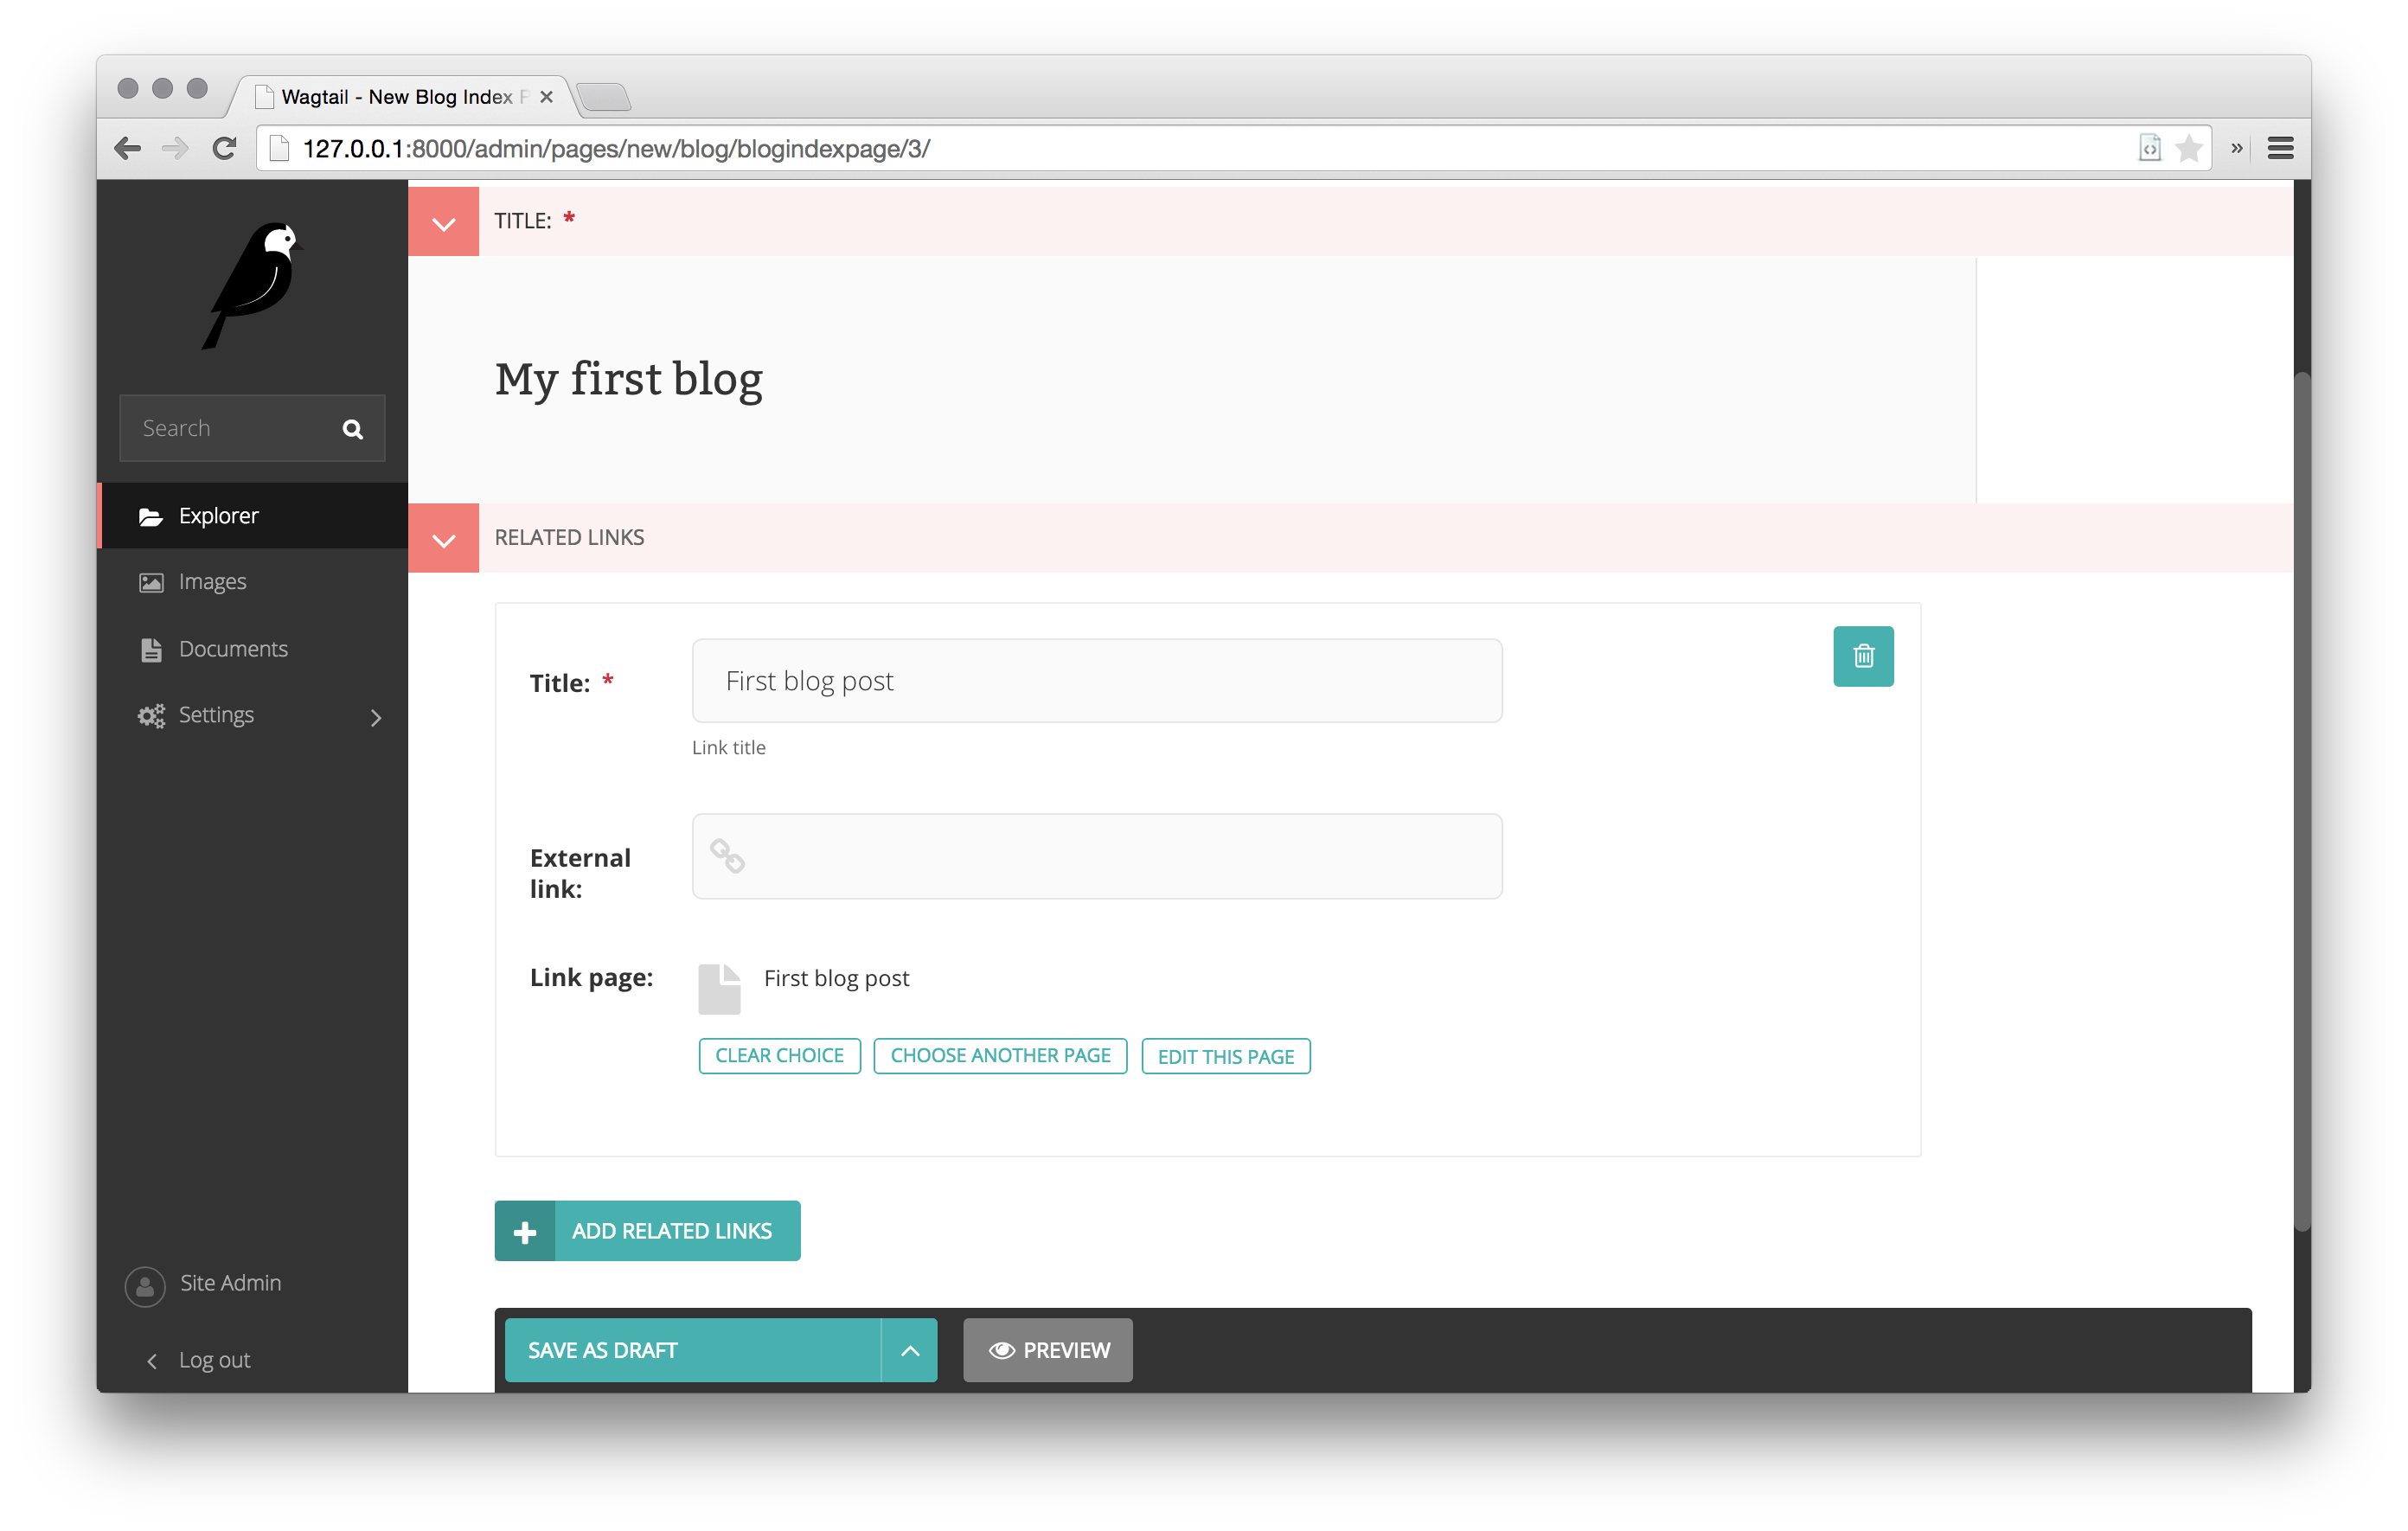
Related items
Let’s extend the BlogIndexPage to add related links. The related links
can be BlogPages or external links. Change blog/models.py to
from django.db import models

from modelcluster.fields import ParentalKey

from wagtail.wagtailcore.models import Page, Orderable
from wagtail.wagtailcore.fields import RichTextField
from wagtail.wagtailadmin.edit_handlers import (FieldPanel,
                                                InlinePanel,
                                                MultiFieldPanel,
                                                PageChooserPanel)
from wagtail.wagtailimages.edit_handlers import ImageChooserPanel
from wagtail.wagtailsearch import index


# ...

class LinkFields(models.Model):
    link_external = models.URLField("External link", blank=True)
    link_page = models.ForeignKey(
        'wagtailcore.Page',
        null=True,
        blank=True,
        related_name='+'
    )

    @property
    def link(self):
        if self.link_page:
            return self.link_page.url
        else:
            return self.link_external

    panels = [
        FieldPanel('link_external'),
        PageChooserPanel('link_page'),
    ]

    class Meta:
        abstract = True


# Related links
class RelatedLink(LinkFields):
    title = models.CharField(max_length=255, help_text="Link title")

    panels = [
        FieldPanel('title'),
        MultiFieldPanel(LinkFields.panels, "Link"),
    ]

    class Meta:
        abstract = True


class BlogIndexPage(Page):
    intro = RichTextField(blank=True)

    content_panels = Page.content_panels + [
        FieldPanel('intro', classname="full"),
        InlinePanel('related_links', label="Related links"),
    ]


class BlogIndexRelatedLink(Orderable, RelatedLink):
    page = ParentalKey('BlogIndexPage', related_name='related_links')
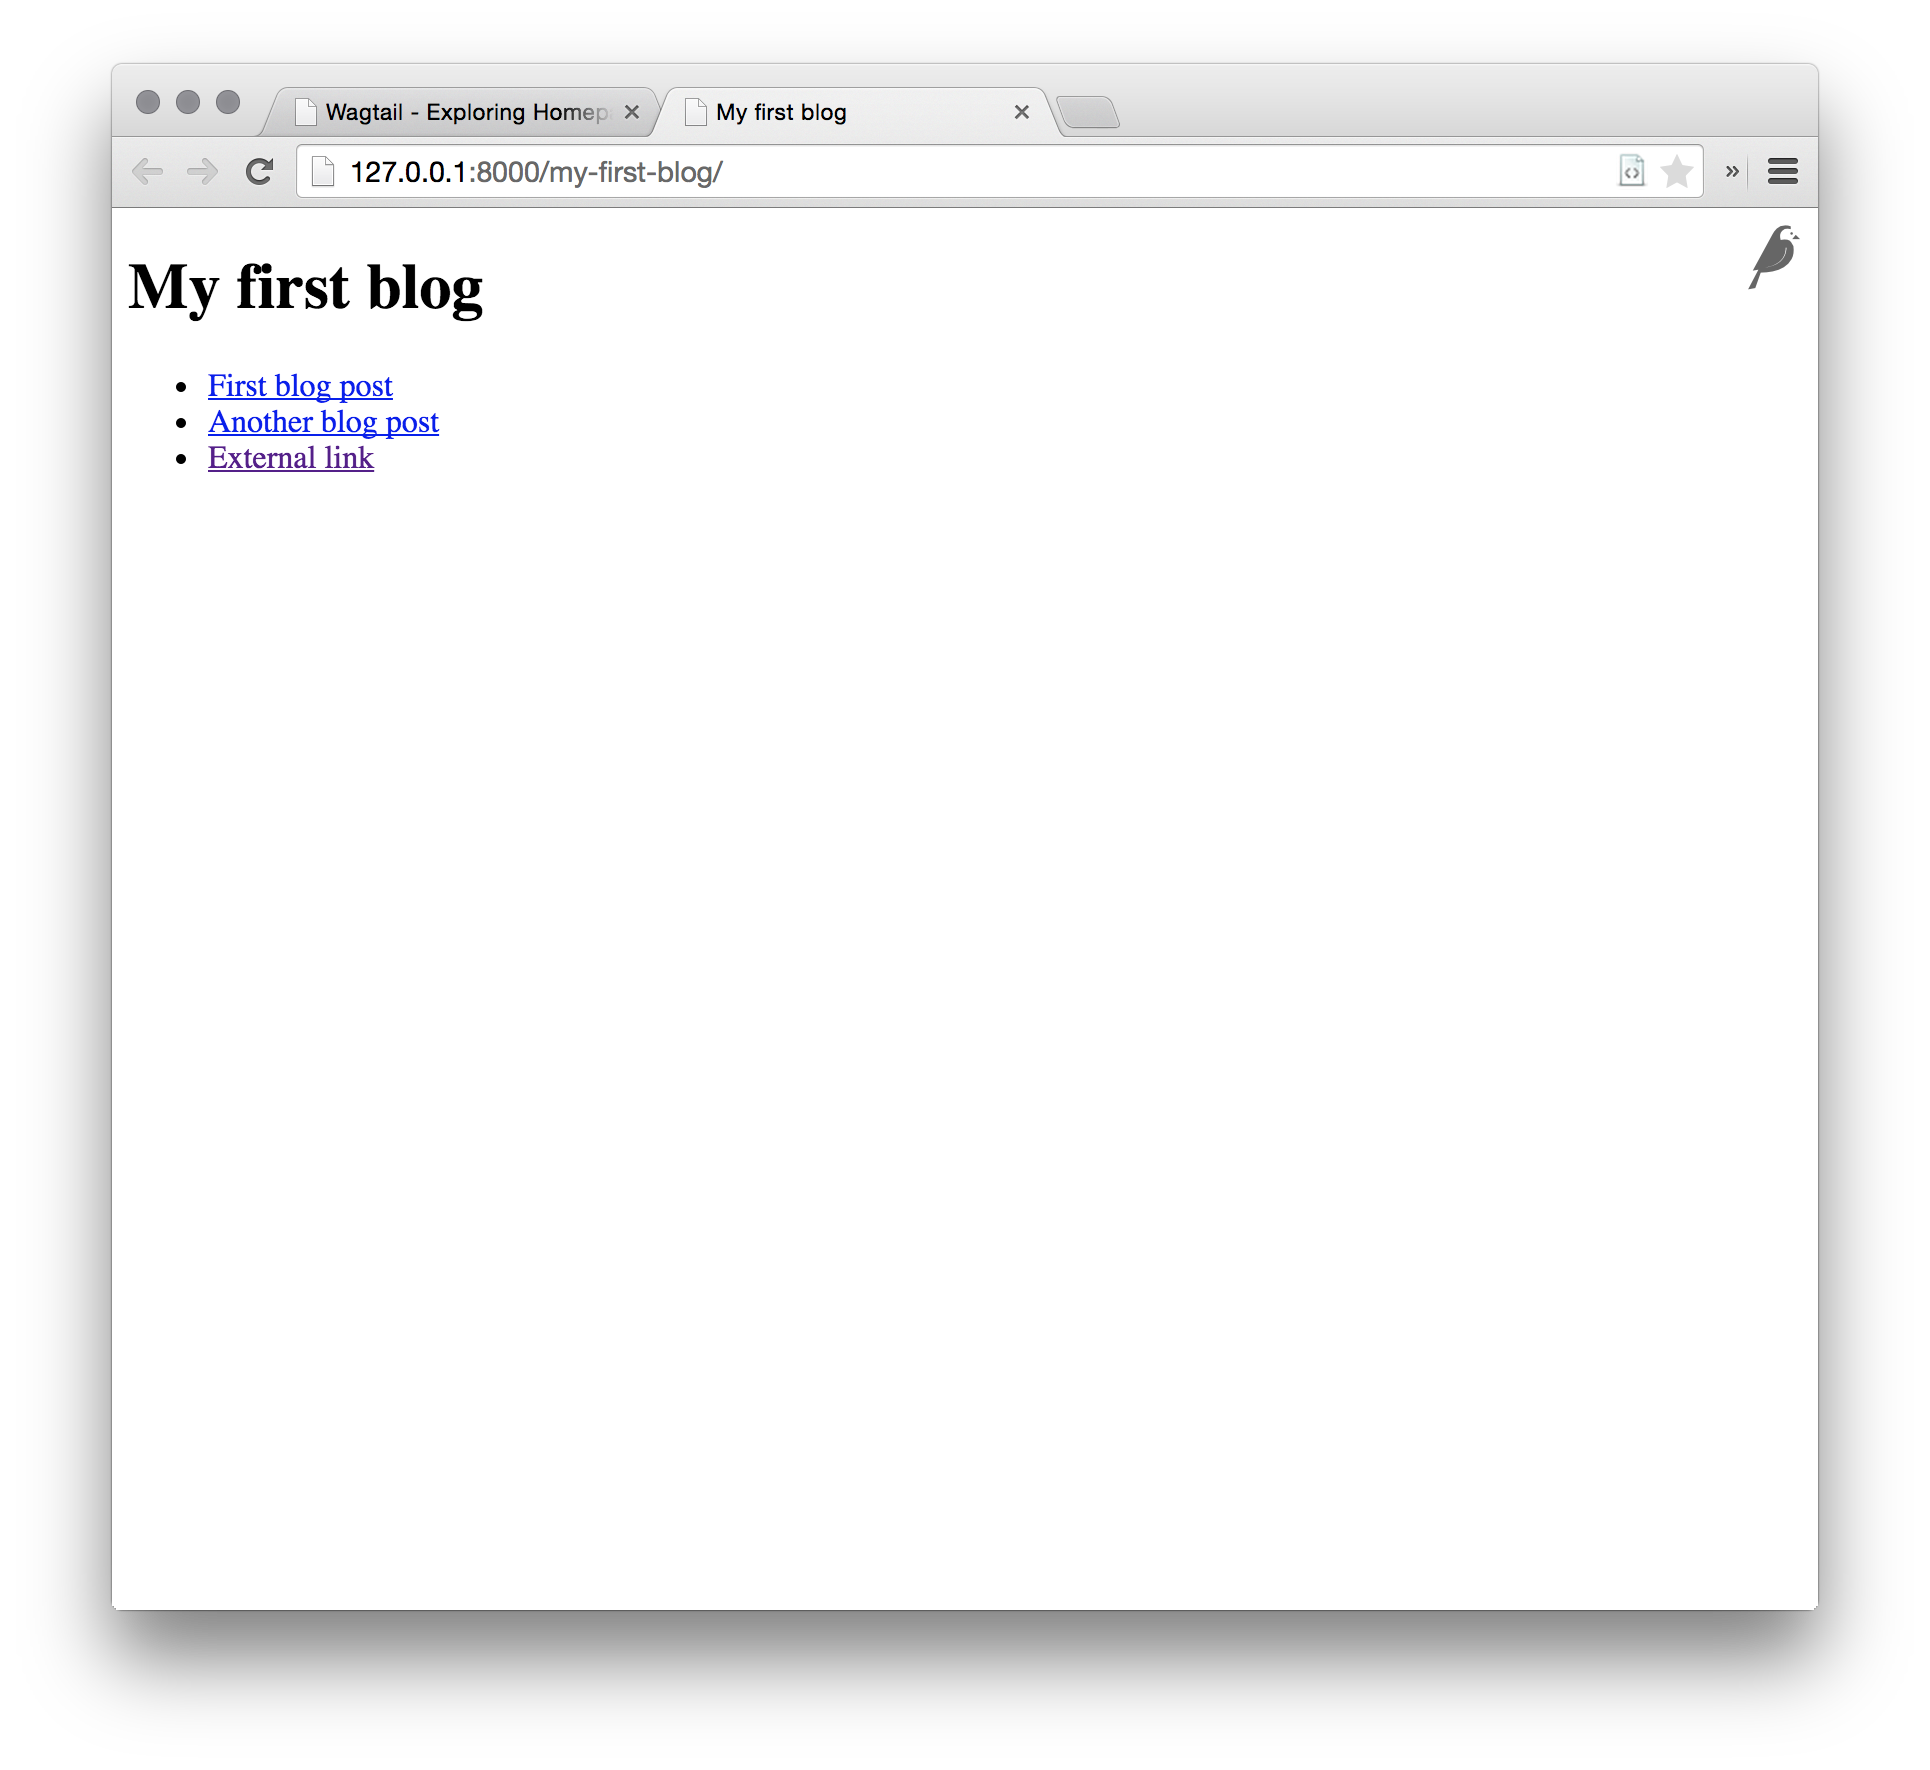
Extend blog_index_page.html to show related items
{% extends "base.html" %}

{% load wagtailcore_tags %}

{% block body_class %}template-blogindexpage{% endblock %}

{% block content %}
    <h1>{{ page.title }}</h1>

    <div class="intro">{{ page.intro|richtext }}</div>

    {% if page.related_links.all %}
        <ul>
            {% for item in page.related_links.all %}
                <li><a href="{{ item.link }}">{{ item.title }}</a></li>
            {% endfor %}
        </ul>
    {% endif %}
{% endblock %}
You now have a fully working blog with featured blog posts.
Where next
- Read the Wagtail topics and reference documentation
- Learn how to implement StreamField for freeform page content
- Browse through the advanced topics section and read third-party tutorials